
Adding texture to your colored pencil botanical drawings can really make them come to life. If you like to draw in a realistic style, learning to add texture is a must!
There are 3 common ways that I add texture to my drawings.
- Splotching– Splotching is a term that I use to mean adding bits of color here and there in an area while leaving space for more colors to be added around it. This is different than layering. When we layer colors on top of each other, the intention is for them to blend together. When you are splotching, you want each individual color to be separate.
- Dots and Dashes– Layering dots and dashes of color on top of your splotching will continue to bring out the texture in your drawing. Much of the “detail” in my drawings is accomplished by simple dots of color.
- Electric Eraser– Using an electric eraser with a tiny tip in the final stages of your drawing to pick up tiny bits of color to expose the layers underneath will dramatically add to the look of texture and depth in your drawings. I like the Afmat, battery-powered eraser with detailer tool.
Here are a couple more important points to keep in mind. If you, like me, blend your pencil pigment with a solvent like Gamsol, make sure not to mix the colors together. I used a dabbing motion with my brush during this step to dissolve the pigment without blending the colors together.
Another thing to keep in mind is that the larger your drawing, the more detail you will be able to include which will add to the overall affect of texture and depth in your drawing.
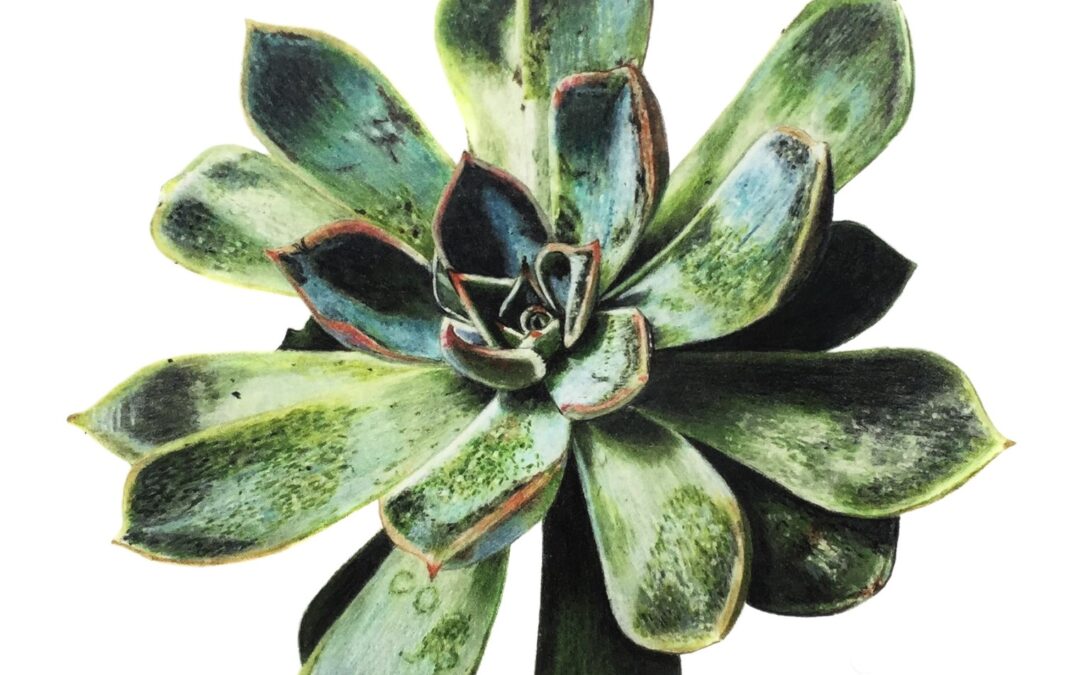
Watch below as I add texture to one of the leaves of this colored pencil drawing of a succulent.
To learn more about how I create my botanical colored pencil drawings, check out my Patreon site at https://www.patreon.com/JenniferMorrisonArt.
And, for a complete list of my available colored pencil drawing tutorials see jennifermorrisonart.com/patreontutoriallinks.
Jennifer
Recent Comments